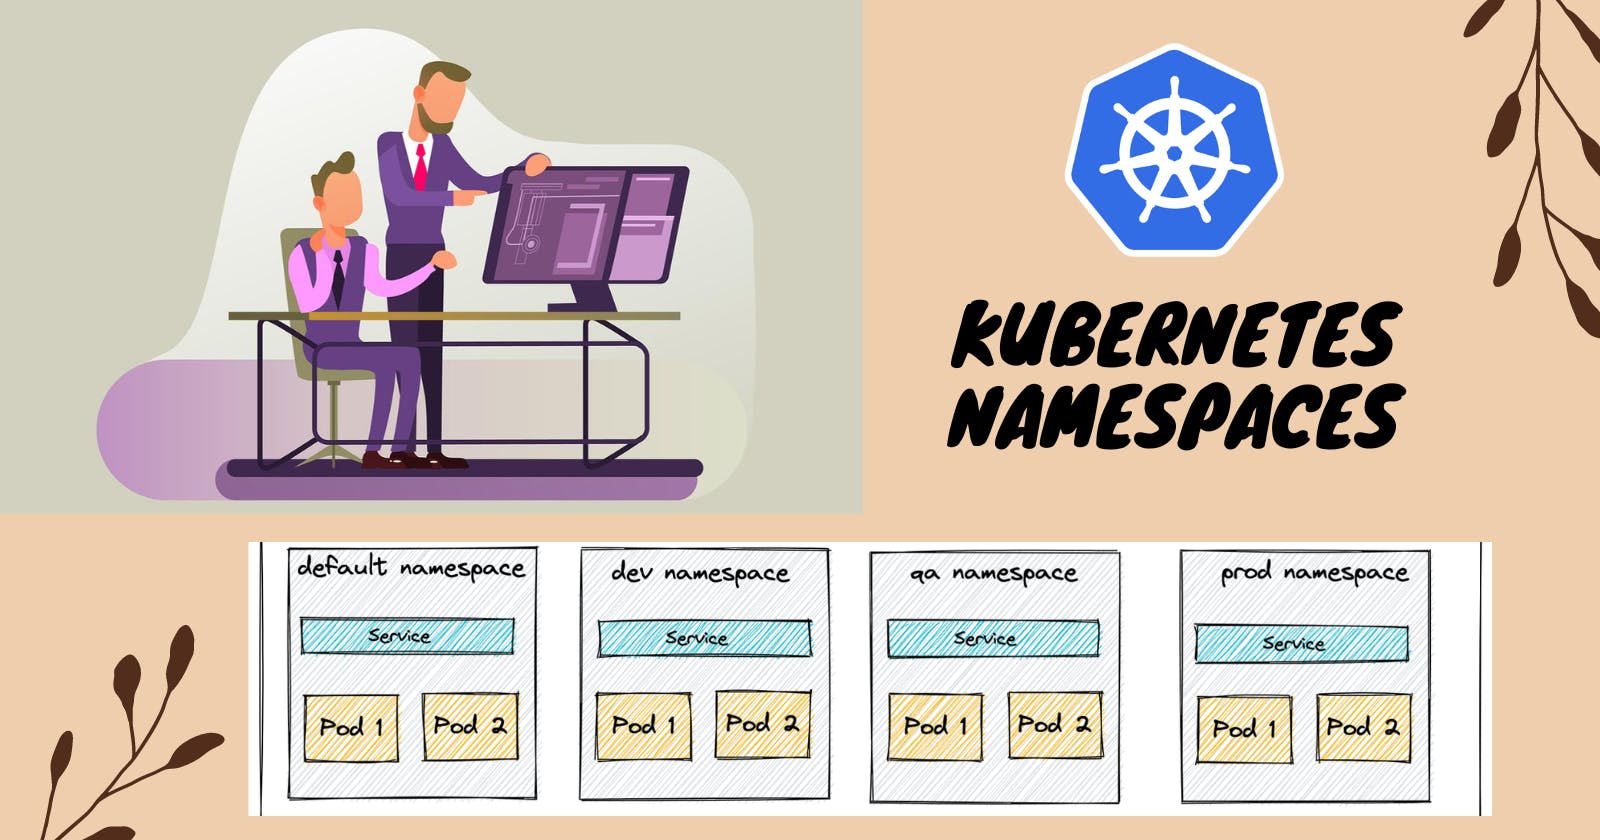
✔️Define Namespaces
Nameplates in Kubernetes: A Quick Summary
What are they? Nameplates are unique names given to different parts (resources) in Kubernetes, like pods, services, and deployments.
Why are they used? They make it easy to identify and manage these resources in a Kubernetes cluster.
How do they work? Nameplates act like labels, helping organize and select resources based on their names.
Examples: A pod might have a nameplate like "web-server," and a service could be named "backend-service."
✔️Benefits of Having Namespace in Cluster in kunernetes
Logical Segregation: Organize applications, teams, or projects separately within the same cluster.
Resource Quotas: Control resource consumption per namespace to ensure fair distribution.
Access Control: Implement RBAC for better security and access management.
Naming Isolation: Prevent naming conflicts and easily identify resources within each namespace.
Simplified Management: Efficiently handle complex applications and multi-tenant environments.
Monitoring and Metrics: Monitor resource usage and performance metrics per namespace.
Testing and Staging: Create isolated environments for testing without affecting production.
Cluster Resource Sharing: Share resources across clusters while maintaining isolation.
Resource Cleanup: Easy cleanup by deleting namespaces and their associated resources.
✔️Commonly Used Commands for Namespace
kubectl get namespaces

To get all system-related pods running in namespace "kube-system".
kubectl get pods -n=kube-system

If you didn't mention any namespace, the pod will be stored in the default namespace
kubectl get namespaces -n=default

To create a new namespace
kubectl create namepspace <name>
✔️Services in k8s
Services are a fundamental Kubernetes abstraction that enables a stable network endpoint to access pods.
They provide load balancing and allow pods to be easily scaled up or down without changing the access mechanism.
Services can be of different types: ClusterIP, NodePort, LoadBalancer, and ExternalName, catering to various networking requirements.
They allow applications to communicate with each other across different pods and nodes using a single, well-defined endpoint.
Services play a crucial role in abstracting the underlying infrastructure, making applications more portable and resilient within the cluster.
✔️Benefits of Having Services
Load Balancing: Services distribute traffic evenly among application instances for better performance.
Service Discovery: They provide a stable address for applications to find and communicate with each other.
Pod Lifecycle Management: Pods can be scaled or replaced without affecting how applications access them.
Networking Abstraction: Services hide complex networking details, making applications easier to manage.
Cross-Node Communication: Applications on different nodes can communicate seamlessly.
External Access: Services allow applications to be accessed from outside the cluster.
Fault Tolerance: They ensure applications stay reliable by rerouting traffic when pods fail.
Security: Services help control traffic flow and enforce network security policies.
✔️ Types of Service in K8s
ClusterIP: The default service type, providing a stable IP address for internal cluster communication.
NodePort: Exposes the service on a static port on each node, allowing external access via the node's IP and port.
LoadBalancer: Automatically provisions an external load balancer to expose the service externally.
ExternalName: Redirects the service to an external, non-Kubernetes service using a DNS name.
✔️Task 1:
Create a Namespace for your Deployment
Use the command
kubectl create namespace <namespace-name>to create a Namespacekubectl create namespace my-django-app # List out all the name space kubectl get namespace
Update the deployment.yml file to include the Namespace
  apiVersion: apps/v1
  kind: Deployment
  metadata:
    name: my-django-app-deployment
    namespace: my-django-app
  spec:
    replicas: 2
    selector:
      matchLabels:
        app: django-app
    template:
      metadata:
        labels:
          app: django-app
      spec:
        containers:
        - name: django-app-deployment
          image: prabirmahatha/django-todo:latest
          ports:
          - containerPort: 8000
Apply the updated deployment using the command:
kubectl apply -f deployment.ymlkubectl apply -f deployment.yml
Verify that the Namespace has been created by checking the status of the Namespaces in your cluster.
kubectl get pods -n=my-django-app
We can scale the pod by modifying the number of the replicas in the deployment
kubectl scale deployment my-django-app-deployment --replicas=10 -n=my-django-app
Task 2:
✔️Cluster IP:
Internal Communication: ClusterIP provides a stable, internal IP address for communication between services within the Kubernetes cluster.
Default Type: It is the default service type used when no other type is specified.
Internal-Only Access: ClusterIP is not accessible from outside the cluster, making it suitable for internal microservices communication.
Load Balancing: It automatically balances traffic across pods associated with the service.
Pod Selection: The service routes traffic to pods based on the labels and selectors defined in Kubernetes.
✔️NodePort:
External Access: NodePort exposes a service externally by binding it to a static port on each node in the cluster.
Node's IP: Applications can be accessed using the node's IP address and the static port.
Port Range: The port used for external access is within the range 30000-32767 by default.
Internal Communication: NodePort also retains internal ClusterIP, allowing both internal and external access to the service.
Not Suitable for Production: NodePort is often used in development and testing environments due to security and scalability concerns.
✔️Load Balancing :
A load balancer is a network device or software that distributes incoming traffic across multiple servers or resources to ensure optimal utilization, performance, and reliability. It helps prevent server overloads, improves response times, and enhances the overall availability and scalability of the system by intelligently routing requests to the most appropriate server based on predefined algorithms or metrics.
✔️Networking :
In Kubernetes, networking refers to the communication and connectivity between various components of the cluster, including pods, services, and nodes. Kubernetes provides a built-in networking model that enables seamless and automatic inter-pod communication, load balancing for services, and network isolation through the Container Network Interface (CNI) plugin. Administrators can configure networking policies to control traffic flow and implement various networking solutions, like Service Mesh, to manage complex microservices interactions efficiently.

For another Kubernetes project.
Follow me on LinkedIn to see interesting posts like this : )

